Show index Hide index
Your garage often ends up as the catch-all for everything from holiday décor leftovers to forgotten tools and random clutter. When it’s so packed that parking your car indoors becomes a challenge, it’s time for a smart, quick transformation. Luckily, with a few budget-friendly, easy DIY projects achievable in a single Saturday, your garage can evolve from chaos to comfort. These improvements not only boost your storage and workspace but also add style and order, turning your garage into a functional extension of your home. Whether you have a compact city garage or a spacious suburban space, these ideas accommodate all sizes and skill levels. Let’s explore how simple installations like wall-mounted shelving from Gladiator or portable organizers by Seville Classics can instantly declutter and energize your space, using affordable materials and basic tools like a drill, level, and screws. Embrace a smart plan this weekend to reclaim your garage—your future self will thank you! 🛠️✨
Maximize Space with Wall-Mounted Shelving
Installing sturdy wall shelving, like those by Gladiator or Rubbermaid, instantly frees floor space by offloading bulky items. Wall shelves are perfect for heavy tools, paint, and seasonal gear, helping you avoid clutter piles. With a little measuring and leveling, you can mount these shelves securely in just a few hours.
Why it works: Creates clear zones for tools, sports gear, and garden equipment 🏡
Time: Prep 1 hour | Build 2 hours | Total 3 hours
Cost: Under $100 | Skill: Beginner
Materials: Wall shelves (Gladiator/Rubbermaid), screws, anchors, drill, level
To read Christmas Ornament Crafts: DIY Projects for All Ages
- Measure wall space and mark mounting spots with a level.
- Drill pilot holes and insert anchors for secure mounting.
- Screw in brackets and attach shelves.
- Load items carefully—most shelves handle 50+ lbs safely.
Adapt this setup by adding budget-friendly DIY shelves with basic plywood and brackets for a more customized look. Tools needed are minimal: a drill and level suffice, making this accessible even for those new to home projects. Pin for your garage makeover! 🔩📐
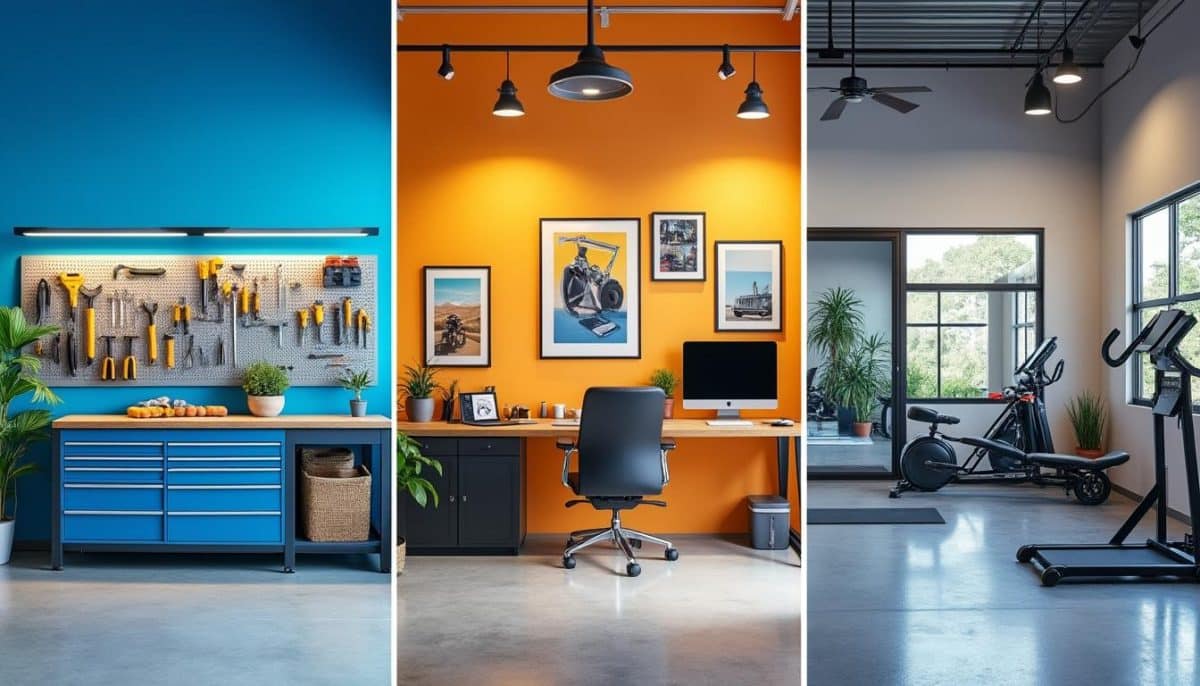
Install a Pegboard Wall for Tools and Accessories
Transform an unused wall into a versatile pegboard tool station! Brands like Kobalt and Craftsman complement this organization method with quality hand tools ready to hang. Pegboards keep tools visible and accessible, eliminating the frustrating search for misplaced equipment.
Why it works: Provides instant access and tidies cluttered tool collections 🧰
Time: Prep 0.5 hour | Build 1.5 hours | Total 2 hours
Cost: Under $50 | Skill: Beginner
Materials: Pegboard panel, hooks, screws, drill, level
- Choose a suitable wall and measure for pegboard size.
- Mount the pegboard flat using screws and anchors, ensuring it is level.
- Arrange hooks by tool type for easy reach.
- Regularly re-arrange to fit evolving tool sets.
For tighter budgets, repurpose old pegboards or craft your own with plywood and drill holes evenly. The key tools remain a drill and level. This clever upgrade keeps your workspace efficient and enjoyable. Save for weekend projects! 🛠️🔧
To read Christmas Ornaments Homemade: DIY Projects with Supplies
Create a Mobile Pallet Tool Organizer
Give your gardening tools and small hand equipment a rustic, rolling home with a mobile pallet organizer. Using a sturdy wooden pallet fitted with heavy-duty casters and customized compartments, this project combines charm with practical storage on wheels. Brands like NewAge Products offer quality casters that make moving the organizer smooth.
Why it works: Offers flexible, durable storage that can move wherever you need it 🌿
Time: Prep 1 hour | Build 3 hours | Total 4 hours
Cost: Under $100 | Skill: Intermediate
Materials: Wooden pallet, assorted wood slats, NewAge Products casters, screws, drill, saw
- Sand pallet and any added wood for safe handling.
- Attach casters securely to the pallet bottom with screws.
- Add wooden slats to create compartments for tools.
- Organize garden tools by size and type, and add hooks or clips for gloves.
Adjust the design to fit your tool collection or workshop style. For easier assembly, basic woodworking skills are helpful but not mandatory. Just be sure to wear safety glasses when cutting wood. Pin for your garage makeover! 🌱🛠️
For those seeking more inspiration on maximizing garage space affordably, the resources at Avocado Posts and Place Ideal are packed with practical tips and clever garage upgrades. Integrating SafeRacks overhead storage units or sturdy bins from Sterilite can further enhance your storage capacity in a budget-friendly way without overwhelming DIY novices.
To read Thanksgiving Crafts for Kids: Fun Activities to Keep Them Busy